Hi there Core Fans! It’s Joann with you and today I want to show you my twist on the classic rectangle box that is also super easy to make!
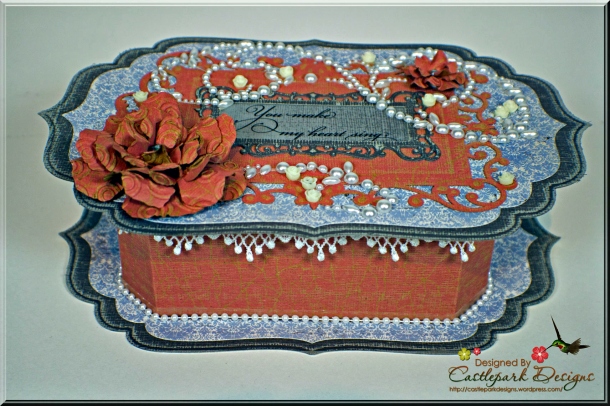
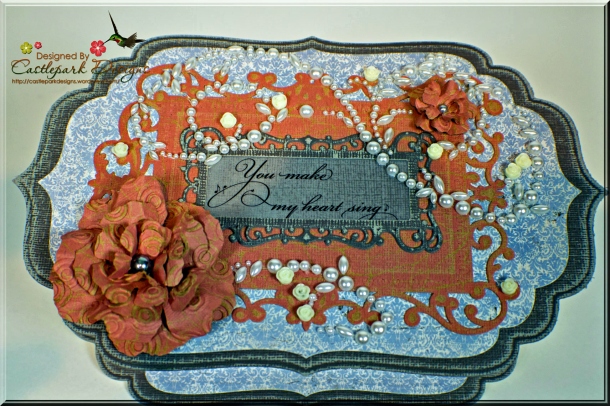
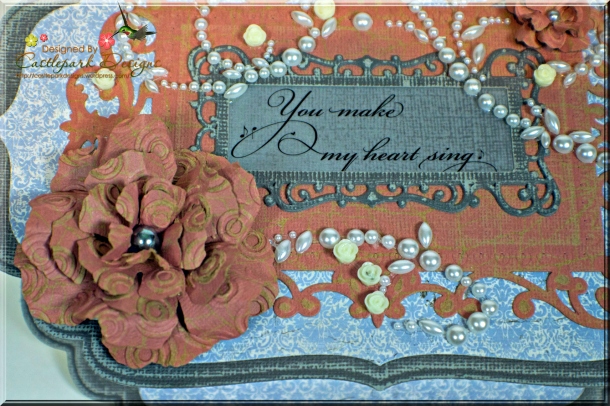
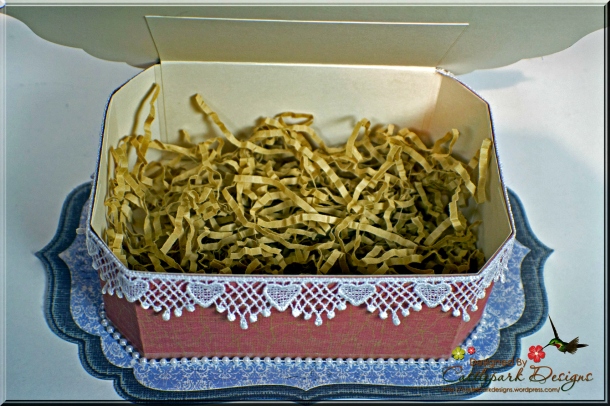
here is a closer look at the detail of this beautiful box
and let’s not forget the inside where you can stash away something nice
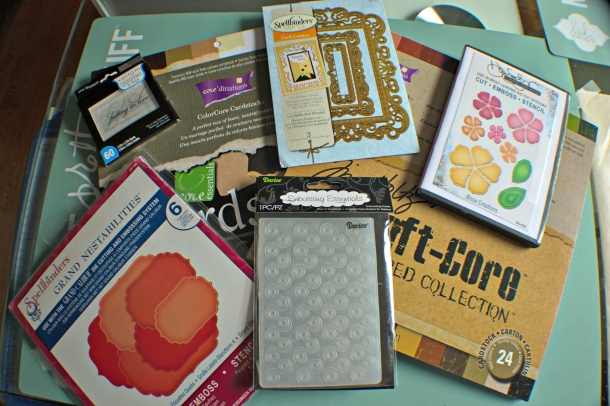
Valentines Keepsake Box Supplies:
- Tim Holtz Kraft Core Nostalgic Collection
- Tim Holtz Kraft Core Shattered Collection
- Coredinations Love Vellum Quotes
- Core Basics 110 lb White Cardstock
- Sand It Gadget & Dust Buddy
- Darice Embossing Folder Swirl Background
- Spellbinders Grand Labels One
- Spellbinders Rose Creations
- Spellbinders 5 x 7 Reflective Moment
- Liquid Adhesive
- Silhouette Cameo
To make this project follow these steps.
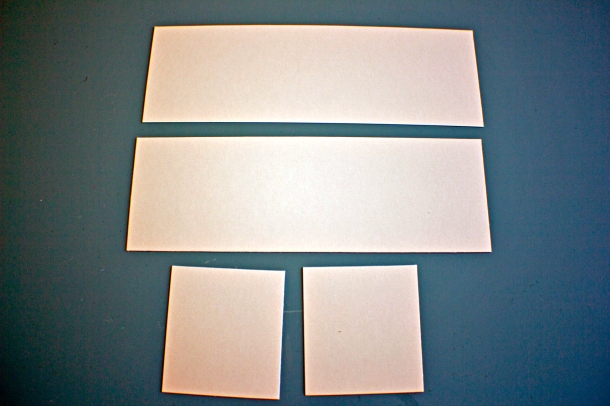
Step 1
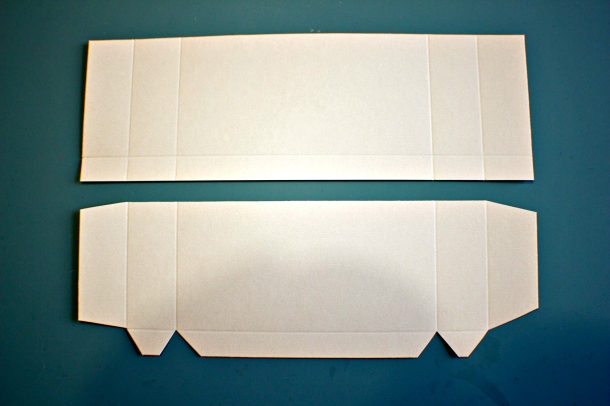
Start by cutting 2 pieces of White cardstock 9″ x 3″ and another 2 pieces 2 3/4″ x 3″. For the best possible box use the Core Basics 110 lb. card stock!
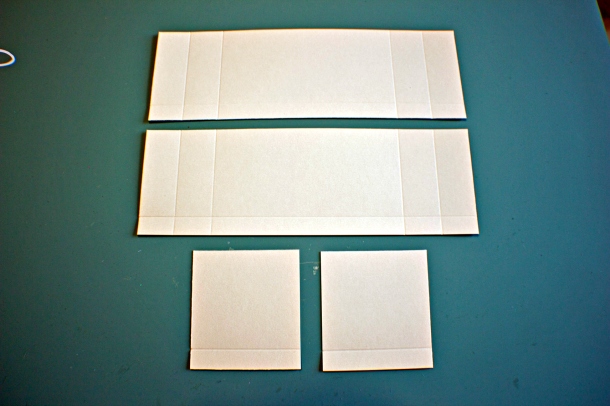
Step 2
Starting with the 2 smaller pieces place them on your scoring board with the 2 3/4″ side to the left of the board and scor at the 1/2″ mark. Next placing your larger pieces on your scoring board, scor on the long side at the 1/2″ mark and the sort side at the 1″, 2″, 7″ and 8″ marks.
Step 3
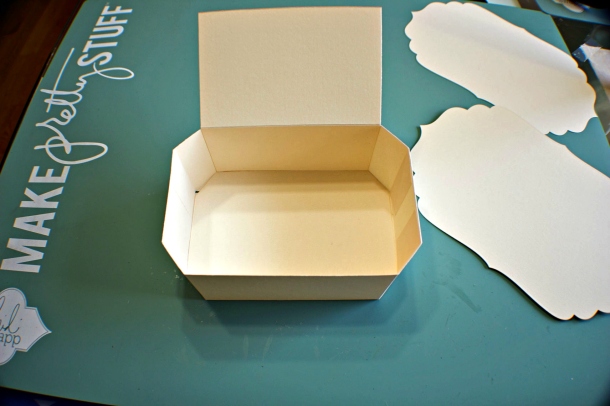
In order for the base to fold properly make relief cuts as shown.
Step 4
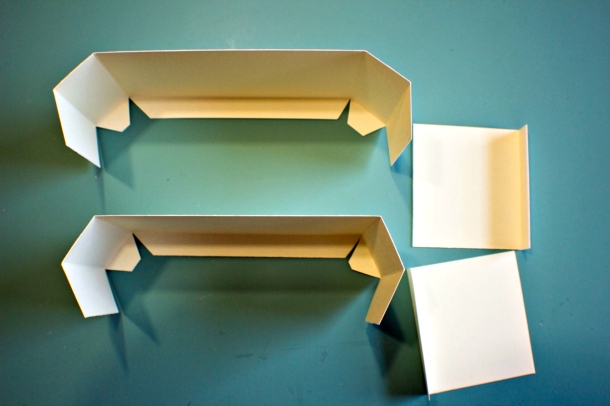
Fold your 4 pieces on the scor lines and don’t forget to use your bone folder to make those creases sharp.
Step 5
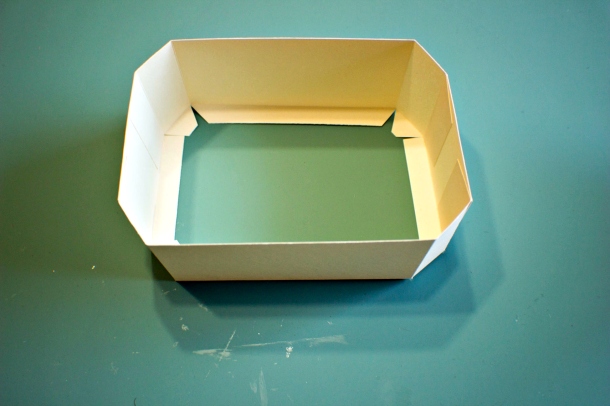
Assemble the pieces as shown and allow your glue to dry.
Step 6
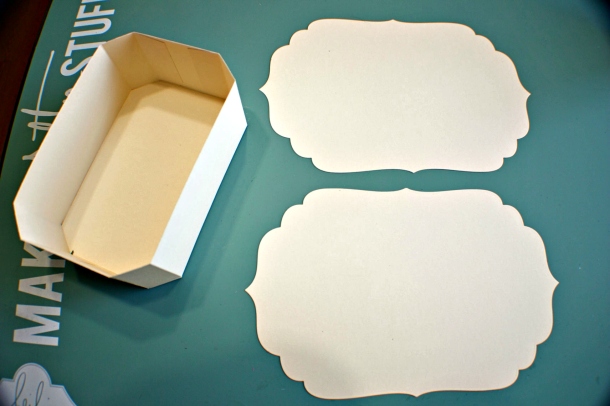
To finish the inside of the box cut a 6 1/4″ x 4 1/4″ piece of card stock and cut off the corners. Hint: Place your assembled side over the inside piece and trace where to cut off the corners. Also using the largest Grand Labels One die, cut 2 pieces out of the same card stock. These will be your top and base of the box.
Step 7
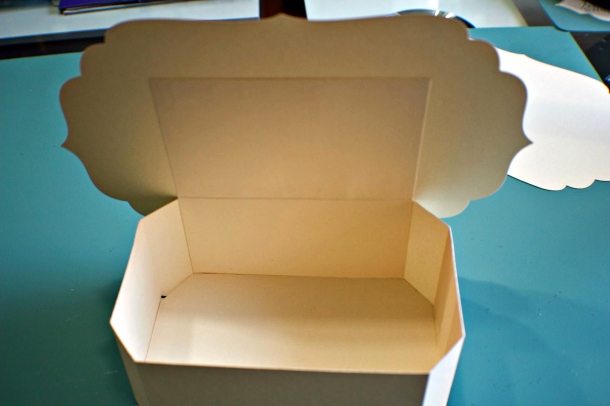
You will want the top to hinge open. To allow that to happen cut a 5 x 5 3/4″ piece of card stock and scor at the 2 1/2″ mark. Once scored, fasten this to the inside of the box.
Step 8
Attach the top to the hinge. Hint: Fasten the top to the hinge using a glue that gives you a bit of time to adjust to ensure that your top is on evenly.
Step 9
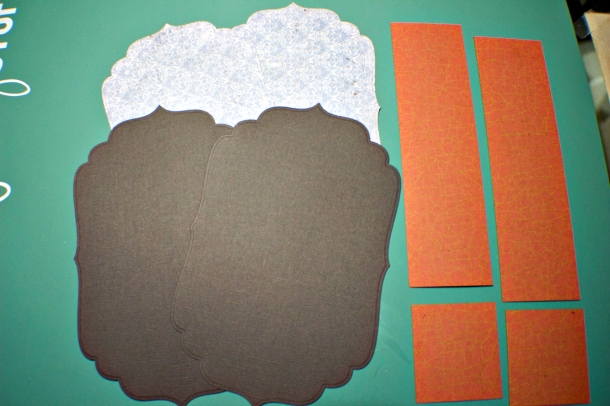
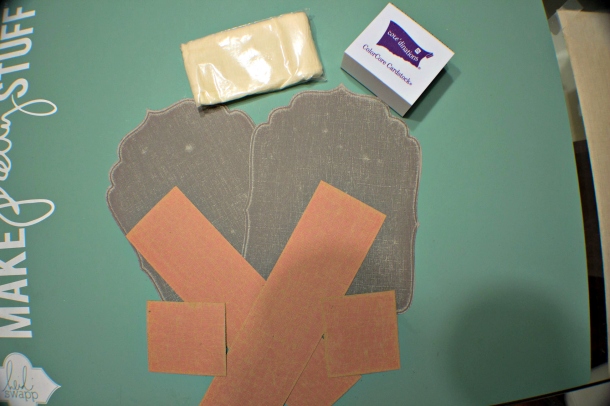
Now it is time to decorate your box. Using the largest Grand Labels One Die, cut out 2 pieces in Grey Cardstock. Take the next smaller die and cut another 2 pieces out of patterned paper and finally cut 2 pieces 9″ x 2 1/2″ and another 2 pieces 2 3/4″ x 2 1/2″ out of Burnt Orange.
Step 10
Using your sanding tool, sand each piece and don’t forget to use your dust buddy to cleanup.
Step 11
Finally, layer on your pieces and decorate the box as desired..
Thanks for stopping by for a peek… Have a wonderful day my crafty friends!






Love, love, love this. Thanks for the great tutorial.
LikeLike
Thank you for such a great tutorial. Love the corners of the box!
LikeLike
Love this box! And it was so easy to make, thank you.
LikeLike
This is amazing!! Thanks Joann for sharing the tutorial. Normally, I am not very good at tutorials but yours is super easy to follow. Wishing you and your family all the very best for 2015.
Florence xx
LikeLike
Me again, I have just pinned this. Hope that is ok. xx
LikeLike
Happy New Year Florence! Hope all is well :). Loving your creations and thanks for pinning! I really appreciate it.
LikeLike