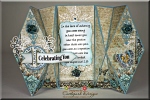
Hi friends! I hope everyone is having a great day so far! Today I want to share with you a tutorial for a fun but easy Fancy Fold that I created especially for Heartfelt Creations! A lot of you have probably seen the Diamond Folds that are around and I love that fold but wanted to do try another different twist on it so I decided to make a double diamond fold! This card features Heartfelt Creation’s newest release “Everyday Heroes Collection.” I hope you like it 🙂
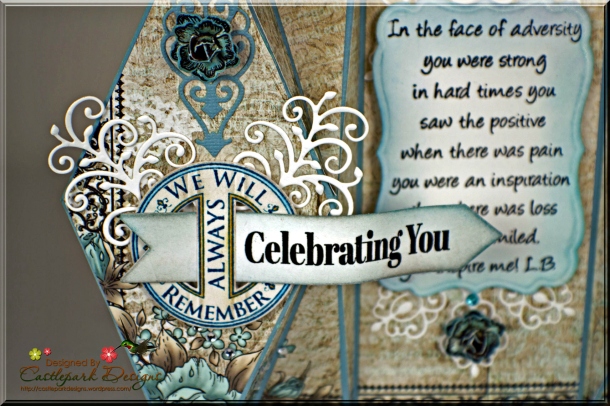
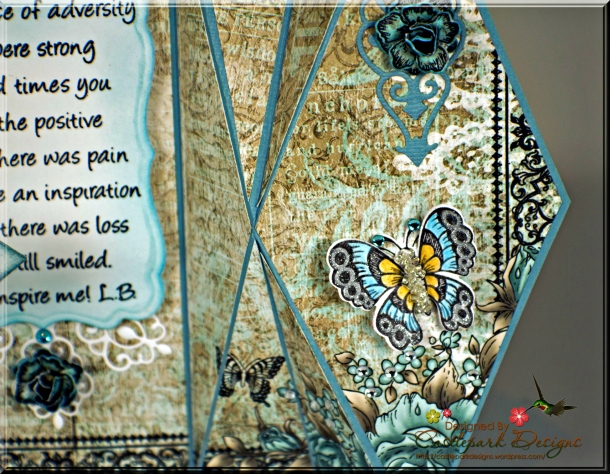
also here is a bit closer look at the panels
Products Used:
HCPC 3644 – Birds and Blooms Cling Stamp Set
HCPC 3655 – Dream in Beauty Cling Stamp Set
HCPC 3667 – You Inspire Me Cling Stamp Set
HCD 747 – Arianna Lace Die
HCD 757 – Leafy Branch Die
HCD1-758 – Botanical Wings Die
HCD1 761 – Everyday Heroes Die
HCDP1 252 – Everyday Heroes Paper Collection
Deluxe Flower Shaping Kit
Art Institute Glue – Dries Clear Glue
Spellbinders Tool N’ One
Memento Dye Ink Pad – Tuxedo Black
Memento Dye Ink Pad – Teal Zeal
Project Instructions:
Other products: Light Blue Card Stock, Spellbinders Labels Seventeen, Broken China Distressed Ink, Silver Micro Glitter, Quickie Glue Pen, bling from my stash and die cutting machine.
Instructions:
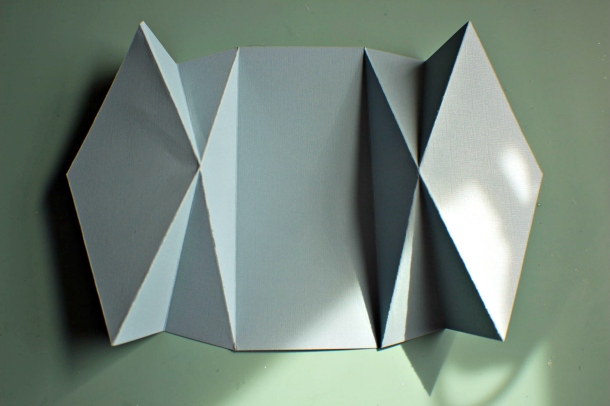
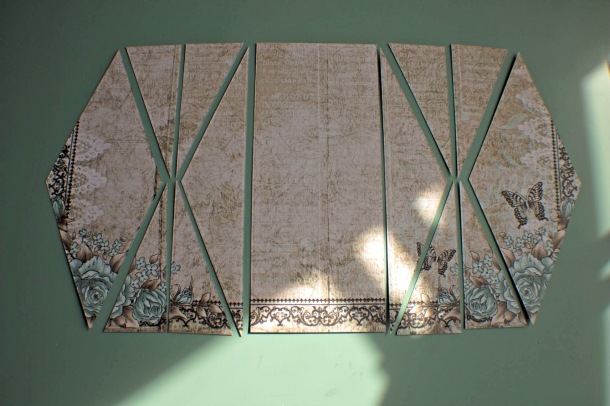
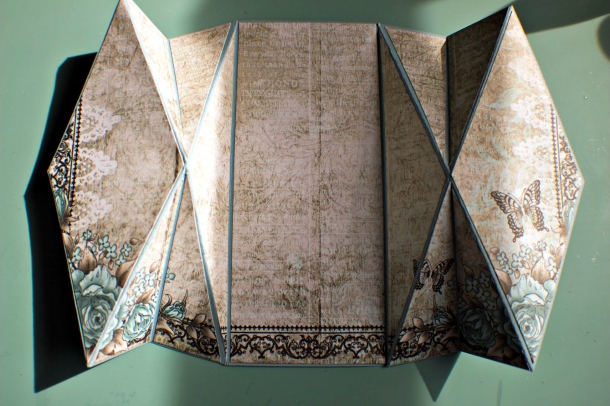
Start by creating the base out of card stock using this template as your guide. Make sure you use your bone folder to get nice sharp folds! Following the same template, create another layer out of favorite designer paper. I prefer to use a sheet with a nice pattern but you could always create pieces out of different patterned papers. Once you have all of the scor lines marked, cut all the panels apart and also trim off 1/8″ on all sides so that the panels will fit onto the card base. Glue the panels onto your card base. If you are using 2 single sheets of patterned paper be sure to place your pieces on in the right order. Using the Arianna Lace Die, add a few die cuts to inside back panel. Finish by decorating as desired and don’t forget to add some flowers and bling!
Here are a few Step by step pics to help demonstrate the instructions:
Step 1:
Start by creating the base out of card stock using this template as your guide. Be sure you use your bone folder to get nice sharp folds!
Step 2:
Following the same template, create another layer out of designer paper. I prefer to use a sheet with a nice pattern but you could always create pieces out of different patterned papers. Once you have all of the scor lines marked, cut all the panels apart and also trim off 1/8″ on all sides so that the panels will fit onto the card base.
Step 3:
Glue the panels onto your card base. If you are using 2 single sheets of patterned paper make sure that you attach the pieces in the right order.
Step 4:
Using the Arianna Lace Die, add a couple of these gorgeous die cuts to the inside panel of the card.
Step 5:
Finish by decorating as desired and don’t forget to add some flowers! On this card I used the Birds and Blooms flowers which worked great.
Thanks again for your visit. I would love to hear your thoughts on this project 🙂
Have a wonderful day my crafty friends!







Super card and great pictures for directions. Think I will definitely try this fold. Thank you
LikeLike
This is stunning. I love the design
LikeLike
Another fabulous idea,thank you for the detailed instructions!
LikeLike
Beautiful, I haven’t seen that style card before, great use of the paper and love the delicate dies!
LikeLiked by 1 person
Breathtaking! Love love love it!!!
LikeLike
Oh My! this card looks so complicated and difficult. It is fantastic. Thank you again Joann.
LikeLike
It’s actually easier then it looks, give it a try!
LikeLike
Gorgeous card, and thanks so much for the tutorial!
LikeLike
Hi Joann, what a gorgeous card. I love everything about it. I love the colors too.
LikeLike
Joann, I love this kind of folded card…it has a great presence and looks so elegant! I love the color scheme that you’ve used! Beautiful!
Hugs,
Tracey
LikeLike
This is beautiful Joann!. I am going to try this one for sure. You always inspire me to step out of my little 5″ X 7″ box!! I love every detail of this project! Hugs
LikeLiked by 1 person
Beautiful card, looks so complicated – thanks so much for the inspiration.
LikeLike
Just Fabulous !!! Hugs
LikeLike
Pl show live tutorial.
LikeLike
oh my I am going to have to try this it is so awesome
LikeLike
I would love to see your finished card!
LikeLike
if I can do it I will post it but that is a big big if lol
LikeLike
Pingback: Monday Links to Tangles, Tutorials and Giveaways #zentangle #Giveaways #ArtJournal | lifeimitatesdoodles
I love this design and can’t wait to try it. Thank you.
LikeLike
Thank you very much. I would love to see your finished card.
LikeLike
Pingback: FANCY FOLDS - gostja craftalnice | Mavrične Ideje
love this design and would love to have the template for it Helena
LikeLike
Hi Helena,
Thank you for the lovely comment. In the instructions for this post is a link to the template. I hope you have fun and I would love to see your finished card.
Joann
LikeLike